
Adding Files
Associate file(s) with each project for ease of use and team collaboration.
On the right-hand side of your project modal, select the Files tab to upload or manage project files.
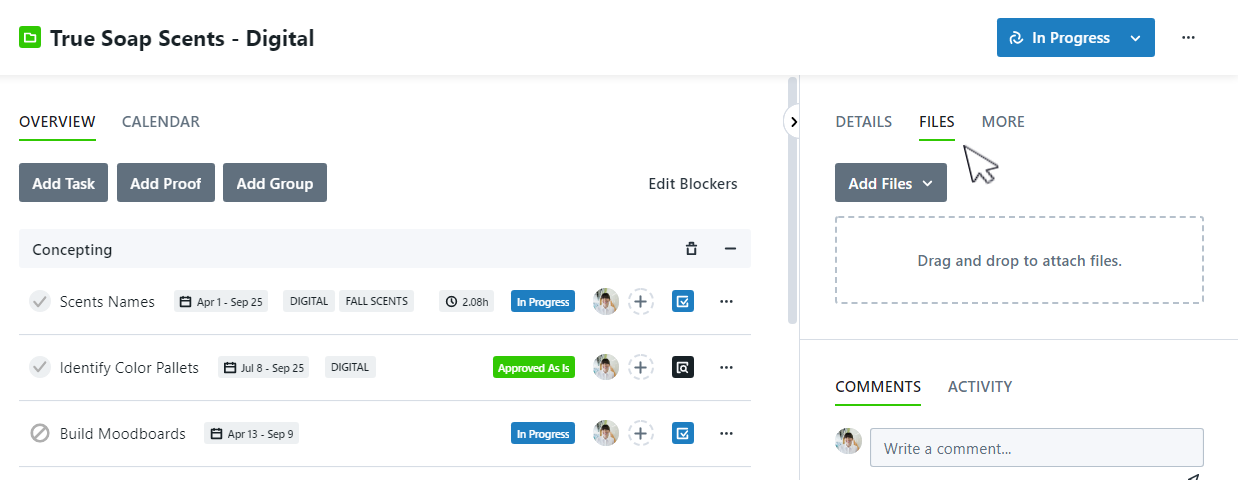
You can drag and drop files from your computer into the available field. If you would like to browse your computer file menu instead, start by clicking on the drag and drop field. You can also browse your computer by clicking Add Files > Browse Files.

inMotion also gives you the ability to attach links to a project. To include a link, click Add Files and paste the link in the box below Link to Attachment. Click the Link button to the right to save your attachment.
Learn more about how to utilize this function and integrate your DAM into inMotion ignite

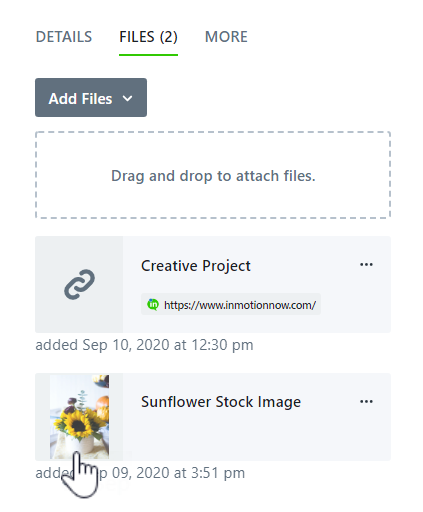
Once the file and/or web page is uploaded, it will display beneath the drag and drop field. The name assigned to the project file will default to the original file name. Similar to other fields on the project details page, you can click the field to change the assigned name.

Previewing and Downloading Files
Click on the thumbnail to the left of the file card to open a larger preview of the project file. Image, PDF, and GIF files will display a preview of the uploaded file, all other file types will display a relevant icon.
In the bottom left hand corner, the updated name and original file name will display. To download the file, click on the corresponding icon in the bottom left hand corner.
To close the file preview, click the X in the bottom right-hand corner or select ESC on your keyboard.

Versioning Files
When a file is Versioned, Requesters will only have access to the the most recent version of the file.
inMotion will also allow you to store multiple versions of a file. If you would like to update a project file with a new version, select the actions menu to view additional options. Click Add New Version to select the updated file from your computer.

Once you have uploaded the new version, you can preview the updated file. From the file preview, you can then view the version history or delete the current version selected.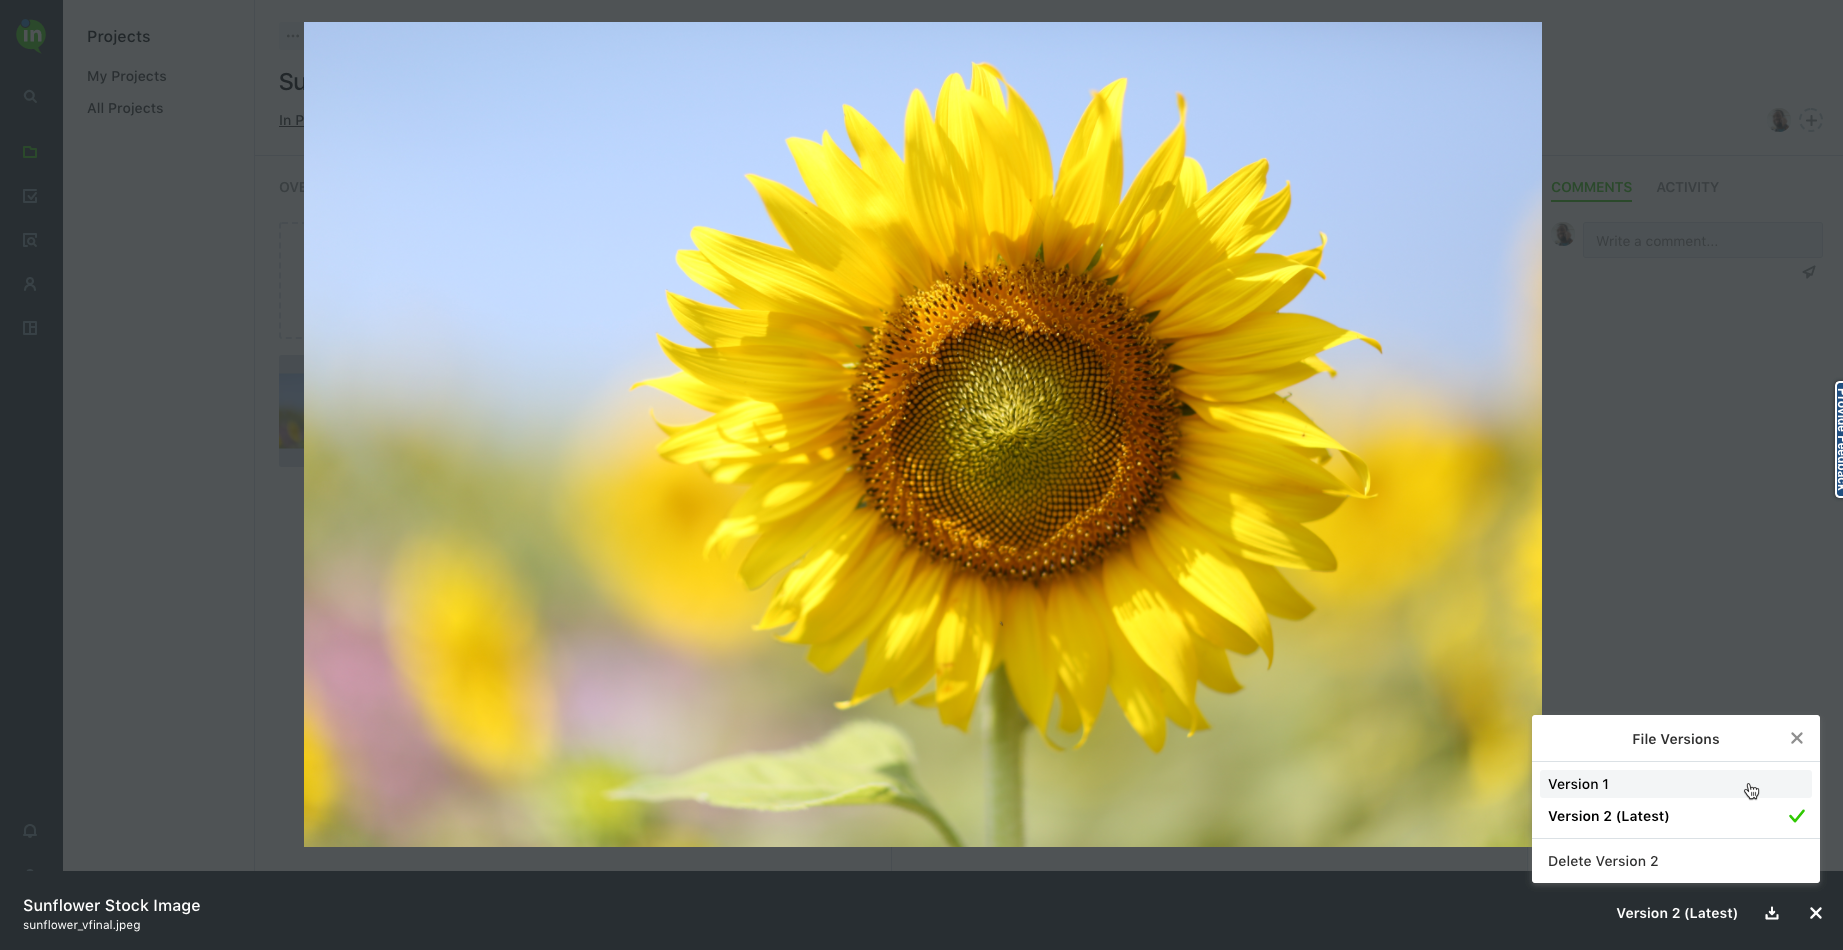
Identifying a File as a Deliverable
Files uploaded to projects created from requests can be labeled as a deliverable, which will immediately share the file with the requester. This keeps stakeholders updated and delivers final files more quickly, even if the entire project is not completed.
To mark a project file as a deliverable, navigate to the file, click the options icon, and select Deliverable.

The file will then be labeled as a Deliverable.

Respective requesters will have access to the file prior to the project completion. If the file was versioned, requesters will only have access to the most recent version of the file.

Removing Files
If you would like to delete a file, select the options menu towards the right of the file to view additional options. Click Delete This File to permanently remove it from the project. This will delete both the latest file and all associated versions.
