
Task Name
Once a task is created, you can update the task name at any time. Start by hovering over the the task name to reveal the related text box and click in to edit the text. Once you are finished, click anywhere outside the text box to automatically save your changes.
Task Status
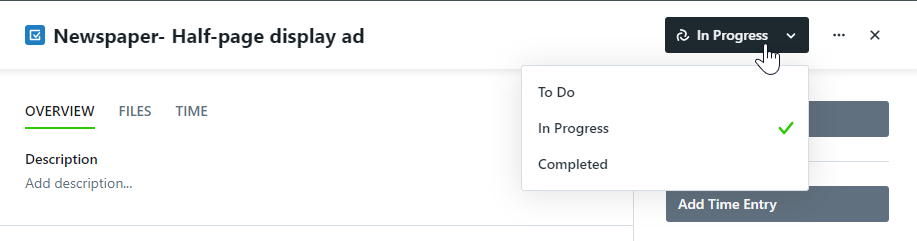
Any new task will have the status of To Do. To make changes to the Task Status, click on the status box to the far right of the task name. This will always reflect the current status of the task.
The statuses are generally defined as follows:
- To Do - Task work is not yet started.
- In Progress - Task work is active and underway.
- Completed - Task work was finished.
Task Due Date
For each task, you can set an ideal deadline for work completion. Click Set Due Date beneath the task name to open the date picker. Choose an due date, and click Save.

Once a due date is set, you can click the updated link to change the date or remove the due date altogether.

Task Description
To provide valuable context and details to your team members regarding each task, you can enter a description in the task details OVERVIEW tab.
From the OVERVIEW tab, click on 'Add Description...' to view the text box for task description. Enter a relevant description of the task, and click Save to save your changes.

Tags
Tags are system-wide fields that can help categorize and filter project, task, campaign, requests, and proof data.
On the lower right-hand side of your task modal, click Add Tag to assign a new or existing tag to the task. Once you begin typing, the system will search for and display any existing tag with matching characters. You can click to select the appropriate tag when available, or continue typing to create a new tag. Click the tag you would like to create, or hit Return when finished typing.

Task Assignees
Unless a Team Member has permissions to view all tasks, they will not be able to view or edit a stand-alone task until they are assigned to it. Team Members can view tasks related to a project they are assigned to. Ideally, it is best to assign members to tasks responsible for task work.
To assign task members, click the plus icon below Assignees in right-hand side of your task modal. Click to select the members you would like to assign to the task. A green checkmark will display on the right side of each member selected.

If you have Specialties* Assigned to your project they will show above people and can be selected, showing a green checkmark.

*Available only to Business & Enterprise Customers
Adding Level of Effort
Towards the bottom of the right side of your task modal select Add LOE. 
Input the number of hours and/or minutes below LEVEL OF EFFORT. If you have users assigned to your task, the hours will automatically be evenly distributed.

You can redistribute how the hours are allocated by clicking Allocated To and selecting Totals To from the dropdown menu.

Input the number of hours and/or minutes for each user below LEVEL OF EFFORT. These numbers will automatically update the overall level of effort. Select Save when complete.
