
Custom fields enable you to add unique fields to projects and campaigns in order to search for and report on valuable details that are unique to your process and business. Common examples might include Department, Channel, Brand, Line, Part Number, etc.
Custom Fields are only available for Business and Enterprise customers.
Creating Custom Fields
To create a new custom field, navigate to Account Settings by clicking your avatar in the bottom left of the global navigation bar and selecting Account Settings. Note: You must be assigned the permission to Manage Account Settings to create custom fields.

Select Custom Fields from the Settings sub-navigation. Click Add Custom Field in the top right-hand corner to create a new field.

Enter a name for your custom field, select the desired Field Type, and determine whether your custom field will be used on projects, campaigns, or both. Once complete, click Create Custom Field.

You can create the following Field Types:
- A Textbox field type provides an open text field for users to freely input relevant data.
- A Dropdown field type provides specific values for users to select.
- A Number field type limits users to inputting a numeric value.
- A Date field type displays a calendar picker from which users can select a date.
Requiring custom fields on campaigns and/or projects ensures there is always a value entered upon creation of a work item.

If you deselect both Campaigns and Projects under "Applicable To," the custom field will be hidden on all new projects and campaigns, but you can still reference it when reporting on historical data.
Using Custom Fields
Once the custom field is created, it will display in the DETAILS section of the project or campaign sidebar. You can enter unique values into the corresponding custom field(s) on each project or campaign as needed.

When a custom field is required, you will be prompted to enter a value before creating a project or campaign.

Pinning Custom Fields
Select which custom fields are displayed in the Project Details view by pinning the most relevant custom fields. Pinned custom fields appear under DETAILS, and the rest will be accessible from the MORE tab.
You can select which fields are pinned by default in Project Templates by changing default custom fields.
Mapping Custom Fields
If desired, information from requests can automatically map to your projects and/or campaigns and populate selected custom fields, eliminating the need to re-enter this information once the request is accepted.
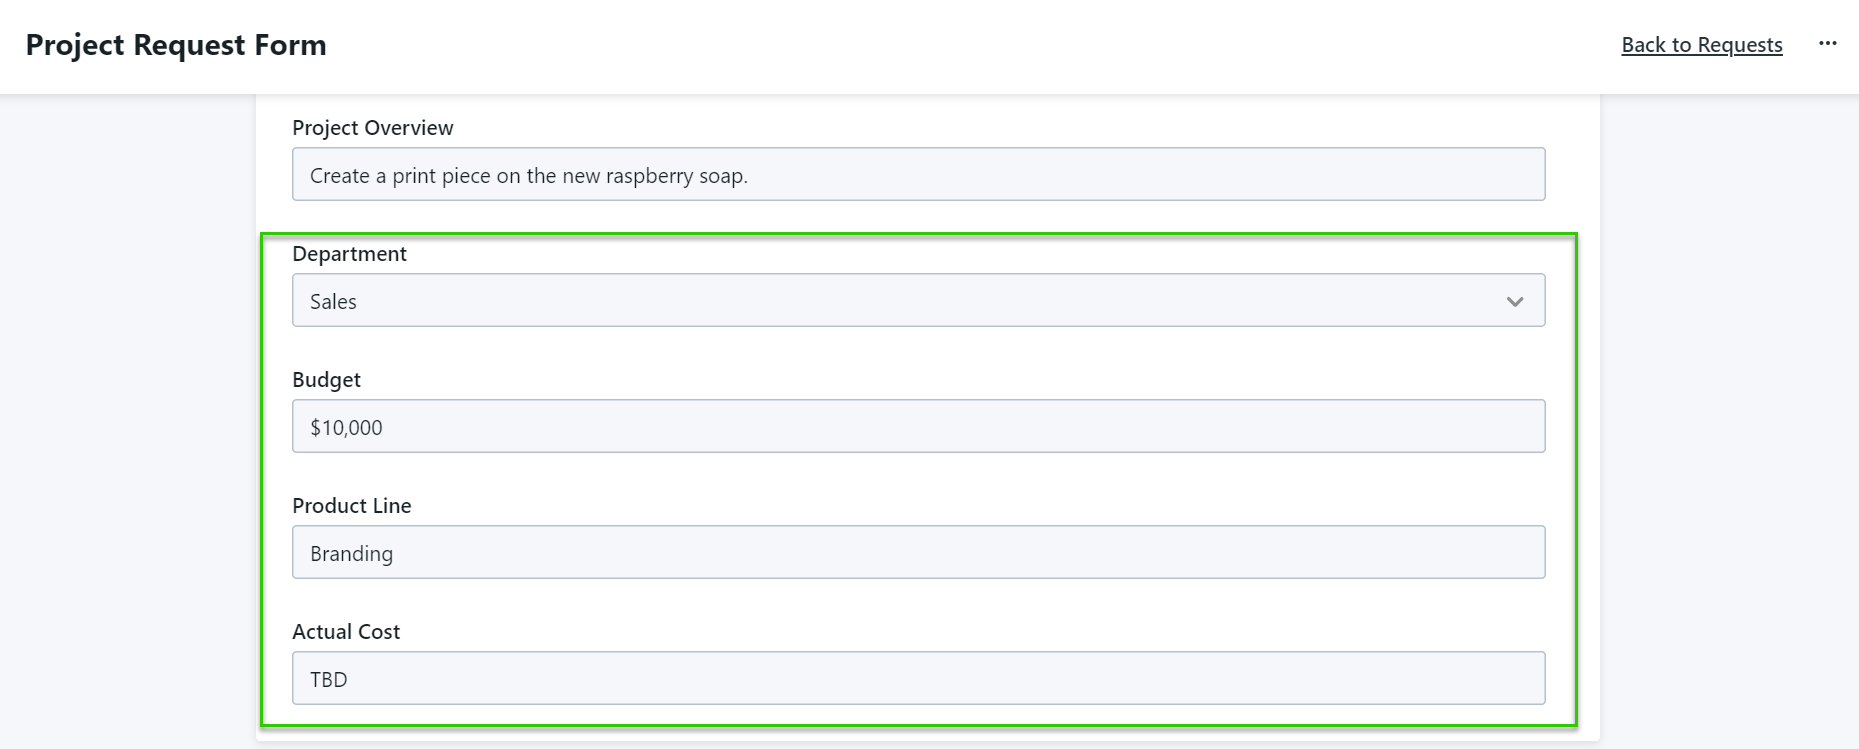
In the example below, the requester completed the following fields within the request form:
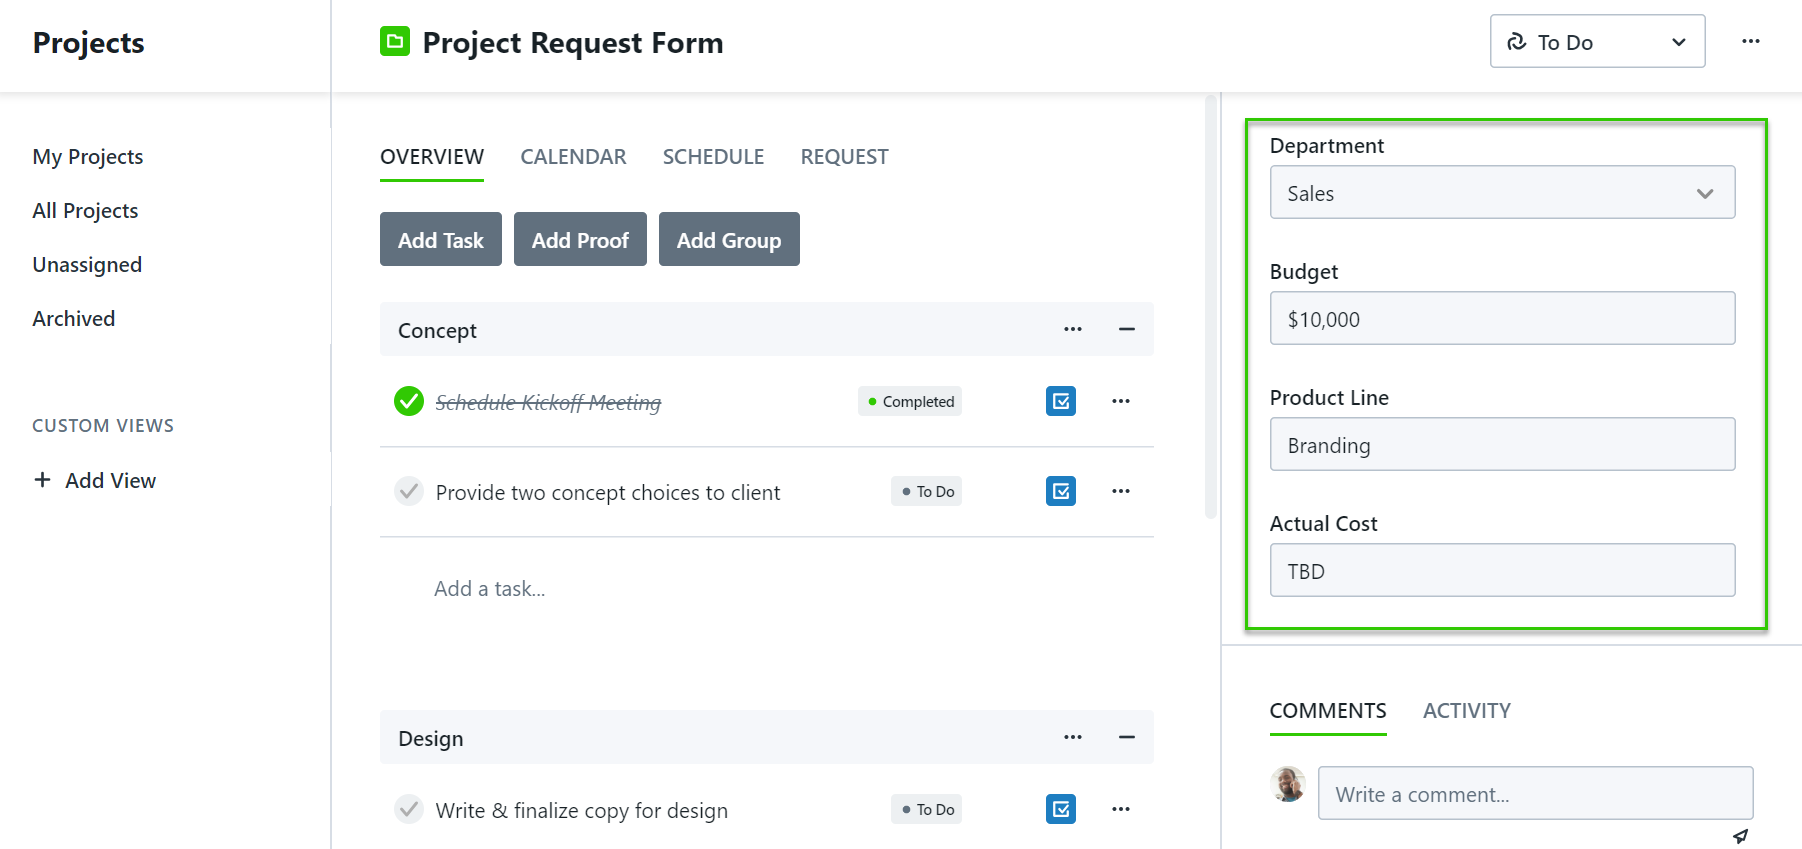
Once accepted, this information automatically populated within the custom fields of the new project.
To enable this feature, please reach out to our Customer Success team (success@inmotionnow.com).
Editing Custom Fields
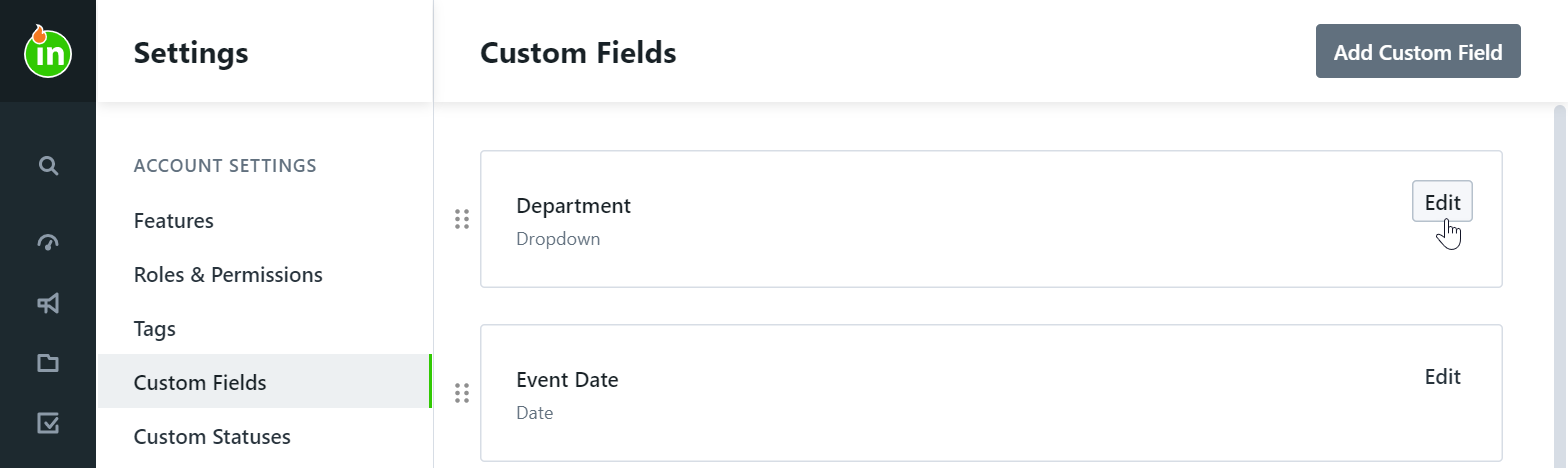
You can edit Custom Fields in your Account Settings. Navigate to the appropriate Custom field and selecting Edit to the right of the field.
Make any updates to your field and select Save when complete.
For Dropdown Custom Fields, select the trash icon next to your options under LIST to remove options. Select + Add an Option to add options. You have the ability to sort alphabetically by selecting the buttons next to Sort Alphabetically, either A to Z or Z to A.

Deleting Custom Fields
To remove a custom field from the system, navigate to Account Settings. Select Custom Fields from the Settings sub-navigation. Click on the Edit link to the right of the custom field you would like to remove and select the Delete icon in the bottom right. Confirm by selecting Delete This Custom Field. Removing a custom field will permanently remove all related historical data.
