
To initiate a new project, navigate to the Projects list, and click Add Project in the top right.
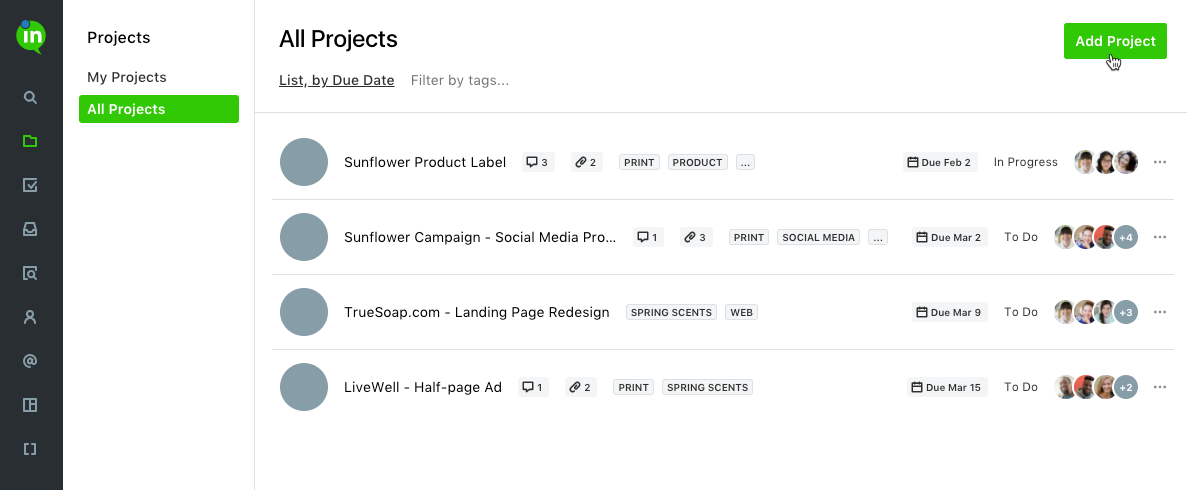
The Projects sub-navigation has two list views. Adding a project from the My Projects list will automatically assign that project to you when creating a single New Project. If you create a new project from the All Projects list, it will be unassigned by default.
Select New Project to create a single project, or click Import to load multiple projects into your account.

Planning out your team's workload for next quarter? Have a lot of work that needs to be done on a regular basis? Bringing work in from another system? Importing projects and tasks is a great way to save time and create work items in bulk.
If your team has used the inMotion Classic platform and you'd like to have your historical work data in your inMotion ignite account, please read this guide about migrating your data.
Getting Started
To create new projects or tasks in bulk, you can use the Import Template. To get started, click Add Project from the "Projects" tab, then click IMPORT from the "Create Projects" modal. Click Download Project Import Template to get a CSV copy of the template to fill out.
You can also follow the same steps from the "Work" tab, clicking Add Task, then IMPORT from the "Create Task" modal.
The template will include the following fields, as well as a formatting guideline for each:
| Field Name | Sample Formatting |
| Work Item Name | Spring Sale |
| Work Item Type | Project |
| Work Item Description | Annual Spring Sale |
| Project Owner | janedoe@company.com,johndoe@company.com |
| Project ID | 12345 |
| Assigned Users | janedoe@company.com,johndoe@company.com |
| Work Item Status | Completed |
| Started | 9/12/2018 3:04:00 PM |
| Due | 10/12/2018 10:00:00 PM |
| Completed | 10/13/2018 9:00:00 PM |
| Tags | Tag 1,Tag 2 |
| LOE | 1 |
| Archived Status | Not Archived |
| Custom Field (Field Name Here) | Web |
| Use Project Template | Y |
| Project Template Name | True Soap Project Template |
Work Item Name and Work Item Type are the only required fields.
For fields with multiple values (Assigned Users, Tags), values must be comma-separated.
Use Project IDs to associate tasks to a project with a matching Project ID. You can create your own Project IDs using any unique identifier, unless you are migrating your data from inMotion Classic, in which case your Classic data export will already include your Project IDs. In either case, the Project ID itself will not be visible in ignite once the work is created.
The import limit is 500,000 rows of data.
Preparing and Running Your Import
As you prepare to import your projects or tasks, these are the three most important points to keep in mind to ensure your import runs smoothly:
- All users must already exist in your account
- All custom fields, dropdown custom field values, and work statuses must already exist in your account
- Start dates must be before Due or Completed dates
Once you've got everything ready to go, you can upload your CSV to the import modal and click Import Work. By default, the "Send email to users assigned to import work" option will be checked, but if you do not want those users to receive email notifications for these projects or tasks, uncheck the box before clicking Import Work.
 We will notify you when the import finishes.
Troubleshooting Your Import
If there are any errors preventing your import from successfully running, you'll be notified and prompted to download a new file explaining the errors. You'll see the same import template with a new column called "Import Errors" outlining which rows have errors.
Multiple errors in one cell are separated by a line break; adjust the cell height or enable text-wrapping to see the full error message.
Here are some common errors and how to fix them:
| Error Message | Error Cause and Solution | |
|---|---|---|
| Project Owner/Assigned User [Email Address] is not in the account | The email address in either the Project Owner or Assigned User field does not match an existing user in the ignite account; invite that user to the account, or remove them from the import template. | |
| The account is missing the following Custom Field: [Custom Field Name] | The entered custom field does not exist in the ignite account; add it to the account or remove the column from the import template. | |
| [Custom Field Name] value of [Custom Field Value] is not valid for this Task | Custom fields cannot be applied to tasks; remove the custom field value from the import template, or change the Work Item Type to Project. | |
| [Custom Field Name] must be a valid number | The custom field type is Number but the entered value was not a number; enter a numerical value. | |
| [Custom Field Name] must be a date in the form of MM/DD/YYYY | The custom field type is Date but the entered value was not in a compatible format; enter the date as MM/DD/YYYY. | |
| [Date Value] is not a valid date | Either the Started, Due, or Completed date is formatted incorrectly; enter the date as MM/DD/YYYY. | |
| Start cannot be after Due/Completed | The Started date and time must be before the Due and Completed dates and times. | |
| Work Item Status: [Work Item Status Value] is not in the account | The entered work item status does not exist in the ignite account; add that status in the account, or remove the value. |